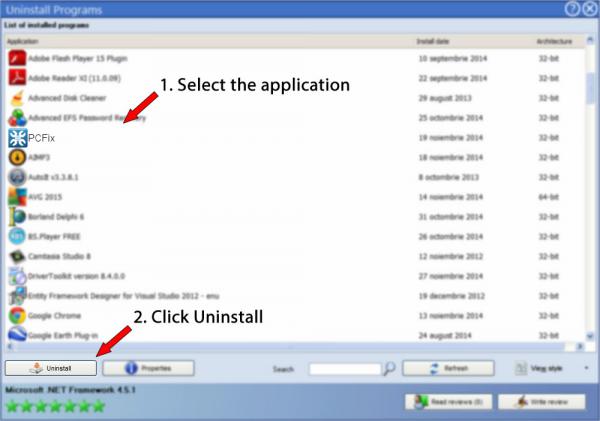
 PCFix
PCFix
A guide to uninstall PCFix from your computer
You can find below detailed information on how to uninstall PCFix for Windows. It was coded for Windows by CK Technologies Pvt Ltd. Go over here for more details on CK Technologies Pvt Ltd. The application is often placed in the C:\Program Files\PCFix folder (same installation drive as Windows). C:\Program Files\PCFix\unins000.exe is the full command line if you want to remove PCFix. The application's main executable file occupies 14.88 MB (15600632 bytes) on disk and is titled PCFixV9.exe.The executables below are part of PCFix. They take about 17.08 MB (17909966 bytes) on disk.
- EmailRegistration.exe (16.50 KB)
- PCFixPer.exe (61.44 KB)
- PCFixV9.exe (14.88 MB)
- rebooter.exe (1.42 MB)
- unins000.exe (723.78 KB)
You will find in the Windows Registry that the following keys will not be removed; remove them one by one using regedit.exe:
- HKEY_LOCAL_MACHINE\Software\Microsoft\Windows\CurrentVersion\Uninstall\PC Fix Cleaner_is1
- HKEY_LOCAL_MACHINE\Software\PCFix
How to delete PCFix from your PC using Advanced Uninstaller PRO
PCFix is an application offered by the software company CK Technologies Pvt Ltd. Frequently, computer users try to uninstall it. This is hard because performing this manually requires some experience related to PCs. The best QUICK way to uninstall PCFix is to use Advanced Uninstaller PRO. Take the following steps on how to do this:1. If you don't have Advanced Uninstaller PRO already installed on your system, install it. This is a good step because Advanced Uninstaller PRO is a very efficient uninstaller and all around utility to clean your PC.
DOWNLOAD NOW
- visit Download Link
- download the setup by clicking on the DOWNLOAD button
- install Advanced Uninstaller PRO
3. Click on the General Tools category

4. Activate the Uninstall Programs feature

5. A list of the programs existing on your computer will appear
6. Navigate the list of programs until you find PCFix or simply click the Search feature and type in "PCFix". The PCFix program will be found automatically. Notice that after you select PCFix in the list of programs, some data regarding the program is available to you:
- Safety rating (in the left lower corner). This tells you the opinion other people have regarding PCFix, ranging from "Highly recommended" to "Very dangerous".
- Reviews by other people - Click on the Read reviews button.
- Details regarding the application you are about to uninstall, by clicking on the Properties button.
8. After removing PCFix, Advanced Uninstaller PRO will ask you to run a cleanup. Press Next to start the cleanup. All the items of PCFix which have been left behind will be found and you will be able to delete them. By removing PCFix with Advanced Uninstaller PRO, you are assured that no registry entries, files or directories are left behind on your computer.
Your computer will remain clean, speedy and ready to take on new tasks.
Geographical user distribution


Disclaimer
This page is not a piece of advice to remove PCFix by CK Technologies Pvt Ltd from your computer, we are not saying that PCFix by CK Technologies Pvt Ltd is not a good application. This page simply contains detailed info on how to remove PCFix in case you want to. Here you can find registry and disk entries that Advanced Uninstaller PRO stumbled upon and classified as "leftovers" on other users' PCs.
2016-06-26 / Written by Andreea Kartman for Advanced Uninstaller PRO
follow @DeeaKartmanLast update on: 2016-06-26 04:12:14.943